
Starting And Managing Fire In A Wood-fired Oven
Posted by ilFornino New york on 2nd Oct 2024
To ensure a positive experience with your wood-fired oven, you need to hone the technique of firing a pizza oven. After choosing a properly seasoned wood supply, you need to prepare and manage it for lighting the pizza oven.

- The illustrations below will help guide you through the process.
Image 1 represents the different sizes of kiln-dried wood. Each size has its own unique purpose to serve and contributes to a well-fired oven.
- Firestarter cube from Weber for initial sustained ignition at strategically located points.
- Fatwood, to ignite long lengths of wood.
- Thin strips of wood, called Dry kindling wood (thin strips of wood) easily allows the larger chunks to ignite. Kindling can be purchased or prepared at home, using an axe or a kindling cracker.
- Longer pieces of wood help build a stack for ignition and are relatively easy to start. However, these pieces burn quickly and need to be constantly replenished.
- In order to gain continuous heat, medium-sized chunks of wood (3 inches in diameter) offer longer heat retention.
- Large logs offer huge amounts of sustainable heat and flame necessary for a Neapolitan pizza. It guarantees that your floor and oven temperature reaches a suitable cooking temperature.
- A propane gas canister (Image 2) is an easy and comfortable device that can be used for ignition.

- Cooking in a wood-fired oven requires heavy-duty gloves to protect hands from the intense heat.
- Before you start placing your wood in the oven, make sure your oven is clean after the last use. Image 4 shows a shovel and brush and a dust pan which help clean once the coal has completely cooled down.
- In order to start a good pizza oven fire, line the larger logs in the rear space of the oven as shown in Image 5. These will not ignite immediately however, due to the intense heat of the firestarter, they will dry out to the point that combustion will be rapid. This technique must be used only after the floor has been thoroughly heated.
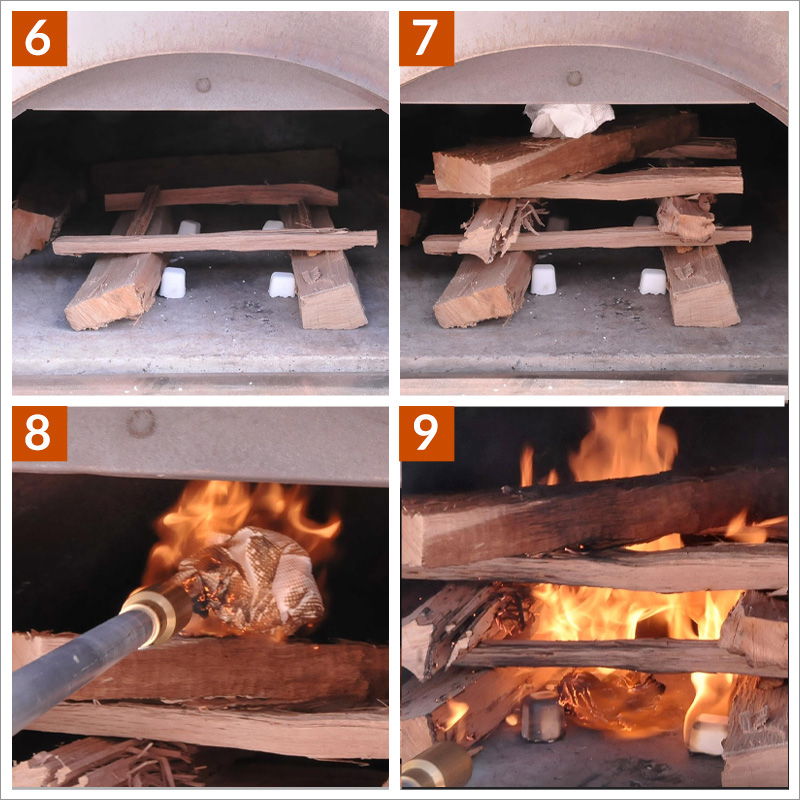
- Starting to build the structure, place two logs of medium thickness from front to back, about 12 inches apart, under the oven dome. Kindling is then placed horizontally with four fire starters located just near the intersection. Place 2 pieces of fatwood on top of the bottom layer. These ignite with intense heat and will facilitate fire at the bottom and the layer above the fatwood. (Image 6)
- Place two medium-sized logs of wood above the fatwood. (Image 7)
- Place another layer of medium-sized logs horizontally to build up the structure and place a heavier log across the structure to allow a wad of paper to reside right under the opening of the chimney. (Image 8)
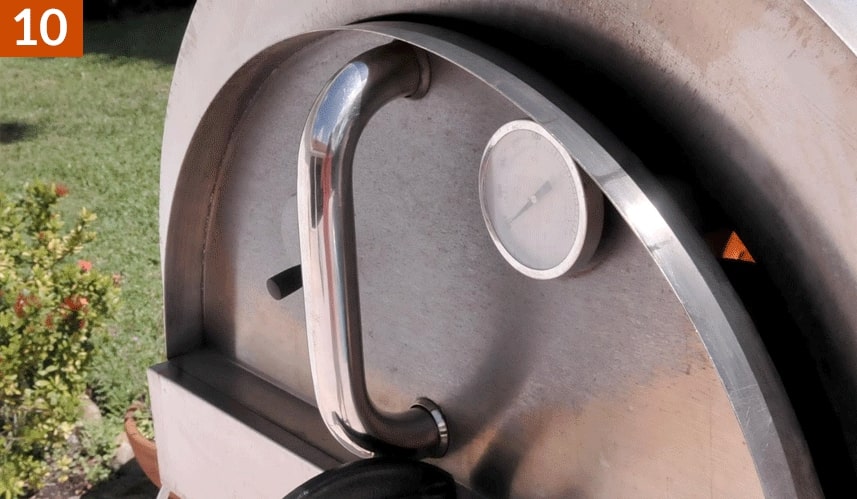
- Using the blowtorch, first ignite the paper, to heat the gases inside the chimney which will create a strong upward draw. Then ignite the starter cubes and simultaneously turn the flame on the wood structure (Image 9 and Image 10)

- Quickly place the door but leave a uniform space to allow air to flow in the oven. You can secure the door with a clamp to keep the door from falling. (Image 11)
- Twenty minutes later, inspect the wood coals and spread them all around the floor. (Image 12)
Note the floor temperature. While the thermometer reads the exact temperature, let the heat soak into the entire thickness of the stone to achieve an ideal environment for the crust. That way, each successive pie will have enough heat for a crust that finishes cooking along with the top of the pie.
Note: During this heating process, you can cook things like bell peppers and char them rapidly while gaining a unique flavor. Those can be used as toppings.
- Move the flame to one side of the oven or at the back. Use a fireguard to isolate the wood and preventing the pizza from direct flames and coal embers. Move the heavy log from the back and place it on top of the initial coal. This unit can be modified with a stainless steel bolt to keep heavy wood off the flames so as to not snuff them as shown in Image 13.
TIPS
- While you cook successive pies, be mindful of the floor temperature and have ample flame across the roof of the oven. A good amount of flame will contribute to the reheating of the floor after each pie and will make sure your pizza cooks uniformly on the top and the bottom. Beware of very high temperature and spin the pie frequently while you observe the crust. Below is an example of a uniform bake.

- After your last pizza has been baked, it is time to consider what other food items can capitalize on the residual heat of your oven. By closing the door and flue, you can lower the flame and internal temperature due to the deprivation of oxygen. Prepare your foods in order of descending temperature requirements, for instance, potatoes for baking, whole chicken, eggplants, and vegetables for roasting, all positioned at appropriate distances from the wood. Frequent inspection is necessary, as the heat is usually more intense than you anticipate.
The order of cooking might look like this-
- Roasting and searing
- Baking bread
- Baking cakes and other desserts
- Reheating food and keeping it warm
- If at any point you find that the temperature is not being sustained long enough for the cooking process, feed the wood oxygen by opening up the flue. This will increase and maintain the temperature but also consume the wood at a faster rate. Minor replenishments might be necessary. When adding wood, use thinner sticks and use a blowpipe to accelerate the ignition.
Once you have completed your cooking cycle, spread all the embers on the oven floor. This will allow for uniform cooling and also burn away residue.
Featured Products


