How to make English Apple Pie in Wood Fired Oven
Posted by ilFornino New York on 25th Feb 2020
Introduction
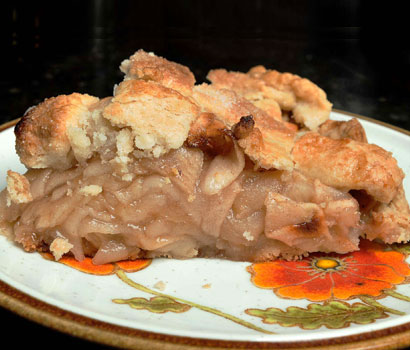
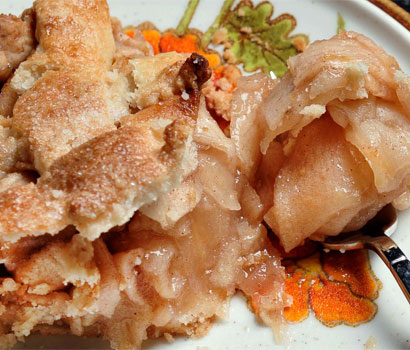
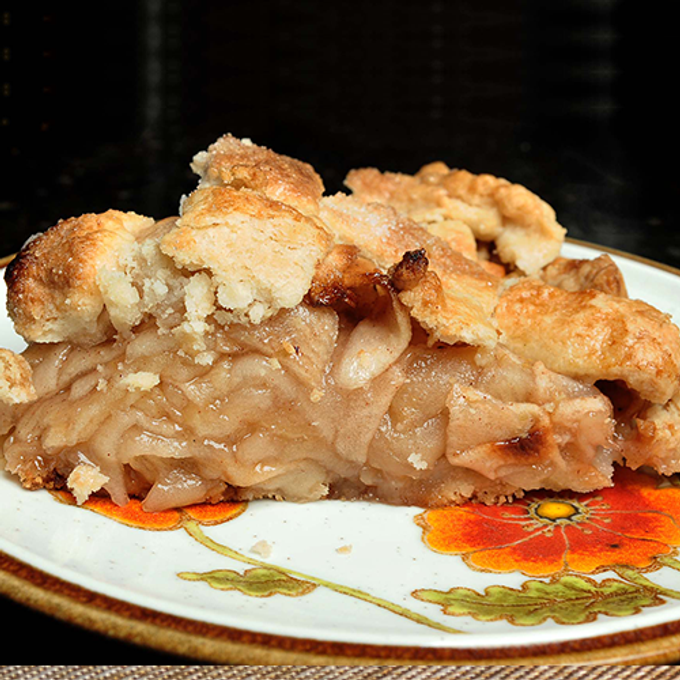
One day I decided to challenge myself to a new food to cook in my ilFornino Wood Fired Pizza Oven. Being able to produce fabulous pizza is great, but what to do after the flames die down? Since I never baked an apple pie before, I knew I had to do some extensive research for an interesting recipe. I happened upon an English Style Apple Pie. English Style incorporates generous layers of sweetened slices of, usually Bramley apples, layered into a dome shape. The dome shape allows for downward shrinkage, and thus avoids a saggy middle. It is then topped with butter or a lard short crust pastry, and baked until the apple filling is cooked. This sounded both like a taste and visual plus. I also wanted to give it a rustic look for two reasons. Firstly to distinguish my pie from a store bought pie, and secondly I knew I couldn’t make a neat lattes pie top if I stood on my head.
Necessary Equipment for English Apple Pie
I am going to list all the necessary equipment for making this pie. I will try to associate the tools in four logical sections:
# 1 – for the Crust
# 2 – for the Filling
# 3 – for the Baking
# 4 – for Serving
As such, the equipment list will have associated numbers where they will be used.
- #1 - Food processor
- #1 - Rolling pin
- #1 - Refrigerator
- #1 - Plastic wrap
- #1 - Parchment or Aluminum Foil with pie weights, uncooked bean or rice
- #2 - Microwave safe 2 cup measuring cup
- #2 - Zester and lemon zester and juicer
- #2 - Apple corer and peeler
- #2 - Knife or Mandolin for slicing apples
- #2 - Microwave oven or stove
- #1 & #2 - Measuring Cups and Spoons
- #1 & #2 - Small bowls to hold ingredients
- #1 & #2 - Bench scraper and spatula
- #1 & #2 - A 9 – 11 inch Pie plate or pan for baking
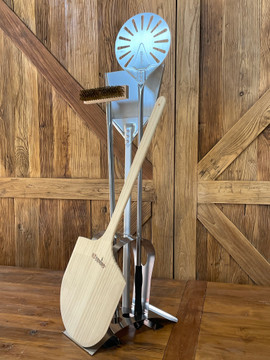
- #1 & #3 - Wood Fired Oven or standard oven
- #1 & #3 - Rack for cooling
- #2 & #3 - Sheet pan with aluminum foil for overflow
- #4 - Knife for serving
Reference #1 - Ingredients for the English Apple Pie Crust:
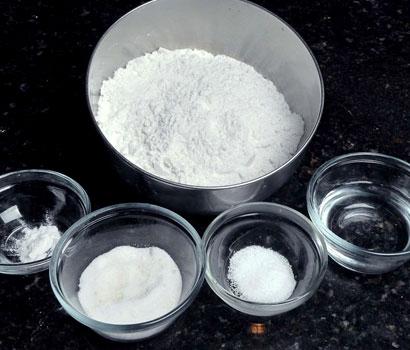 3 cups of all-purpose flour, leveled
- 1 teaspoon of salt
- 3 tablespoons of white granulated sugar
- ¼ teaspoon of baking powder
- 1 and ½ sticks of unsweetened butter cut into small chunks and place in the freezer
- ¼ cup of chilled vegetable shortening
- 8 or 9 tablespoons of cold water, as needed when blending the dough
Reference #2 - Ingredients for Apple Filling:
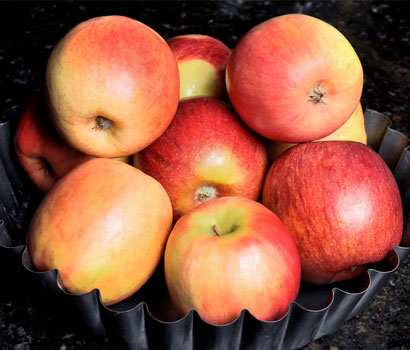
- 3 and ½ pounds of Bramley apples or your favorite baking apple combination
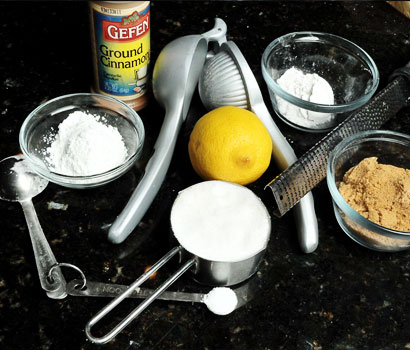
- Zest from 1 lemon and its juice
- ½ cup of white granulated sugar
- 6 tablespoons of dark brown sugar packed
- A heaping ¼ teaspoon of salt
- ¼ to ½ teaspoon of ground cinnamon
- 2 tablespoons of all-purpose flour
- 2 tablespoons of cornstarch
Reference #3 - Ingredients for Baking the Apple Pie:
- A beaten egg, cream or milk for brushing over the crust
- 2 tablespoons of white granulated sugar for dusting the top before baking
Making the English Apple Pie Crust
- In a food processor with metal blade, add the flour, sugar, salt and baking powder into the bowl and pulse until thoroughly combined.
- Into the food processor add the chilled butter and chilled shortening broken in a few pieces.
- Pulse the food processor until the mixture looks crumbly just to a point of forming particles the size of peas. DO NOT OVERWORK
- Add water slowly while pulsing short bursts until the dough is thoroughly moistened. Note: you may not need all the water.
- Transfer mixture to a work surface.
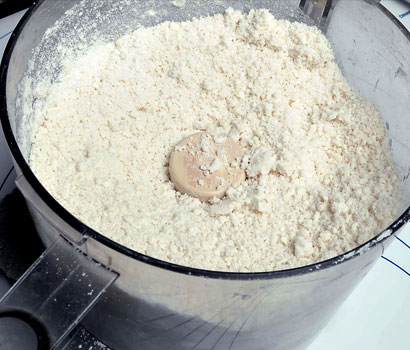
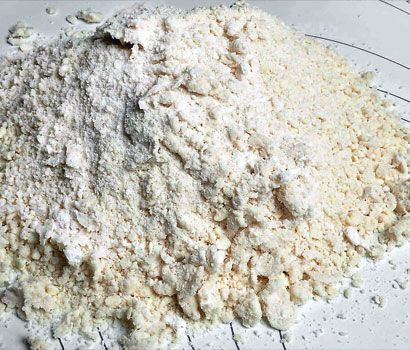
- Gently gather the crust granules into a ball being careful not to overheat or overwork.
- Divide the ball into two parts where one is about 10% larger than the other. That will be the bottom. The smaller will be the top of the piecrust, wrap in plastic film and refrigerate form 45 minuets or more.
- Remove the larger bottom ball from the refrigerator and on a surface form a large disk by flouring the work surface until it can be rolled on a rolling pin for transfer.
- Carefully place the disk into the bottom of your pie pan, forming a lip.
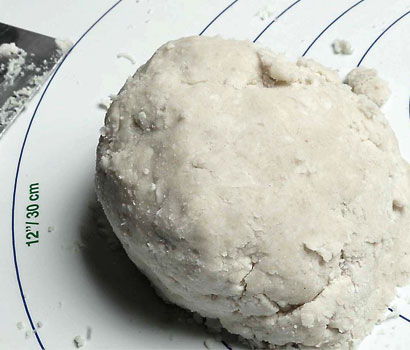
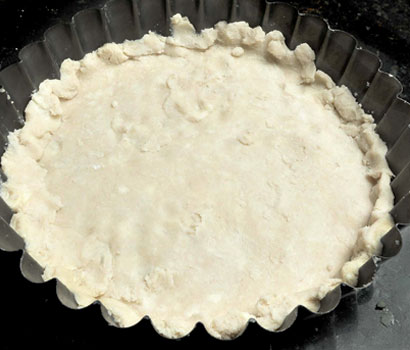
- Place the pie pan into a freezer for 15 minutes while you heat your oven to 350 degrees with a rack in the middle.
- Remove the piecrust from the freezer and place on a baking sheet for easy handling.
- Cover the piecrust with parchment paper or foil and pour in your pie weights. (dry beans or rice if you have none.) Insert into the oven and bake for 20 minutes.
- Remove the pie weights and parchment paper, and bake for another 20 minutes until the crust is set, as slightly golden.
Making the Filling, Final Assembly and Baking of English Apple Pie in ilFornino Wood Fired Oven
- While the crust is in it’s initial bake, in a large bowl, combine lemon juice, zest, white and brown sugar, salt and cinnamon.
- Core, peel and slice your apples. Add to bowl as you proceed and coat all surfaces to avoid discoloration. Let the mixture set for 30 minutes.
- Strain the liquid into either a 2-cup microwave safe bowl/cup or a small saucepan for reduction to a syrupy liquid. Note the volume and make sure as you stir as not to create a thick caramel.
- Once thickened, pour the mixture onto the apples and add the flour and cornstarch, mixing thoroughly.
- Remove the second dough ball and shape into a disk. This will form the top crust. Optionally, you can cut strips to create a lattice top if you prefer.
- Preheat your wood fired oven to 425 degrees.
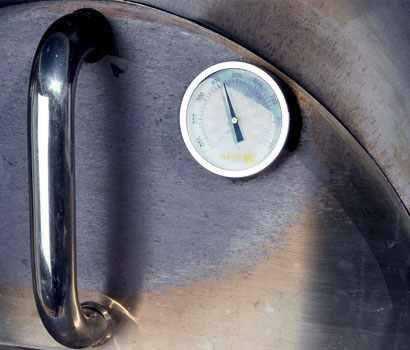 Place the apples and syrup mixture into the pre-baked crust by
mounding up the center while removing any air pockets.
- Top the pie with your top crust, seal the edges and cut some slits into the top if you are using one piece of dough as a cover. Brush the top with either beaten egg, milk or cream and sprinkle granulated sugar evenly on the surface.
- Place a piece of aluminum foil on a baking sheet. Place the assembled pie on the sheet and bake for 15 minutes at 426 degrees. The aluminum will catch any overflow and make cleanup easier.
- Reduce the heat to 375 degrees and bake for another 45 minutes or until the top is golden and the filling is bubbly.
- Remove the Apple pie and place the it with its baking dish onto a wire baking rack for 3 to 4 hours to completely cool. This will give the apples time to set up in its juices.
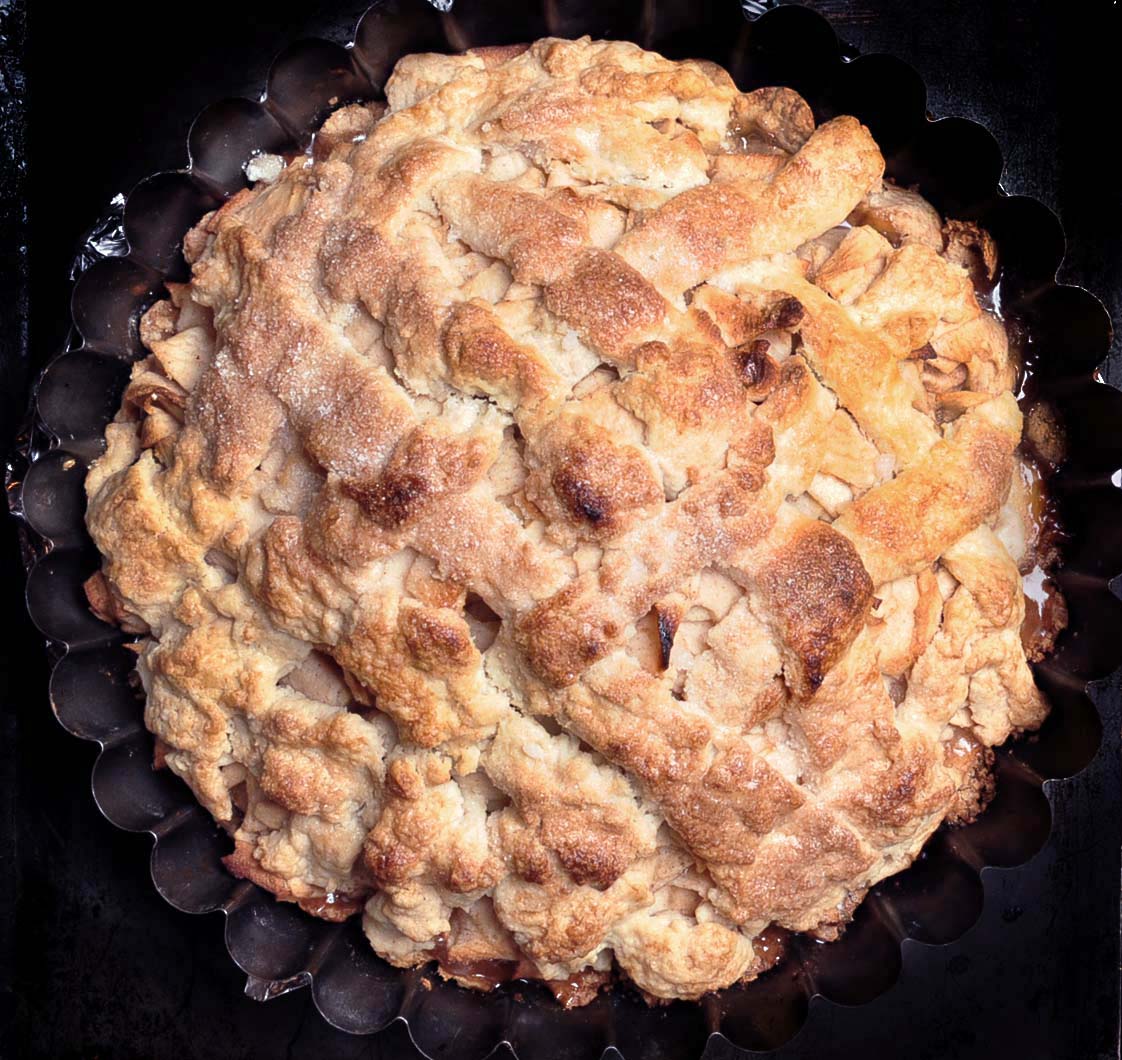
Reference #4 - Slice & Enjoy!!
