ilFornino® Proper Heating Technique
Posted by ilFornino New York on 30th Jan 2019
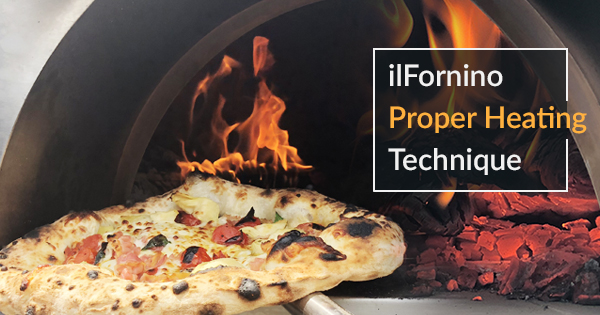
Heating and maintaining the proper heat in your oven is the key to successful and repetitive cooking of your pies. I have discovered, over time, that speed of heating is not necessarily the best approach. You should take your time to get the oven going and evenly distributed.
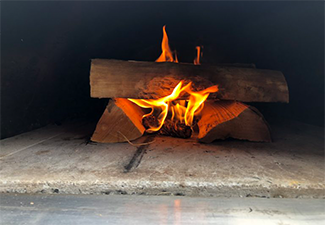
I have found that a bunch of smaller diameter wood, maximum 3 inches or so, should lie on top of the kindling at time of start. These pieces burn more quickly and become the basis for a bed of hot glowing coals. These coals should be distributed as soon as they become glowing coal. This may take about 20 to 25 minutes. At this time, I tend to push the grouping of wood towards the back, but not too far. At that point, I break up some of the glowing logs and distribute them evenly around the surface. I then add additional wood of similar size to insure that a steady supply of heat and flame is available to maintain the fuel needed for the entire cooking cycle.
You should still keep the oven door slightly ajar at one side to maintain airflow. After another 10 to 15 minutes, consolidate the wood and coals either towards the back or to one side. Make sure you fill the entire width or depth with glowing coals. Since I have the ilFornino® Mini Pro, going to the back provides a wider surface to bake pies and other items. I sweep everything to the back, as best as I can, and insert the stainless steel heat guard at the back. Using a shovel, I pile up any stray wood behind the guard.
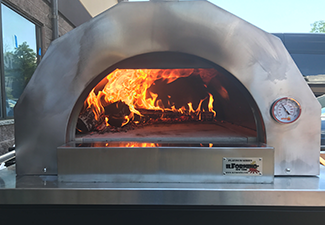
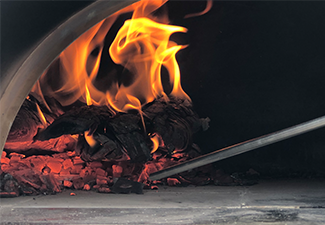
Once the wood is arranged, add one or two more sticks to increase the flame and fuel capacity, behind the guard, being careful not to choke the flames. This may be repeated as required based on the length of your pizza phase of cooking. Any coals are swept to either side of the guard towards the back. After a final sweep of the surface with a brush, I use the CPR Blow Pipe to remove any dust and small particles. The cooking surface should be 800+ degrees by now, and very well distributed within the thickness of the stone. Getting the oven to temperature is only half the battle. Getting it to temperature and making sure that the stone is uniformly saturated to temperature will insure a more even heat and greater retention of that heat.
By doing so, it makes it easier to replenish the heat on the floor, as time progresses, since it is not soaking up as much heat to come back to temperature. You are just replenishing the surface creating a steady temperature throughout the pizza cooking process.
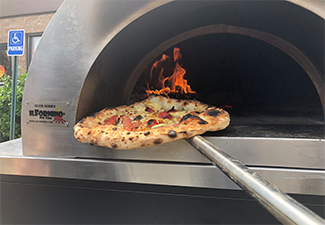
As a result, the introduction of a pie to the prepared surface causes instant levitation of the crust because of the intense even heat. Because of the reservoir of heat in the stone floor, the pie bakes are more uniformly, cooks the bottom rapidly which results in less uncooked centers, crisper bottoms, and not overly burnt edges. Burnt edges are sometimes the result of keeping the pie in too long so that the center is thoroughly cooked. Leoparding, or the dark spots on the crust, are achieved without over carbonization. Finally, lifting the pie toward the ceiling, adds just enough color and crispness to the top of the pie, when done so sparingly.
I estimate that the total time from ignition to first pie is about one hour. Larger units would vary, but as one uses this technique, one becomes more in tune with the procedure.
I would encourage you to try this and check out the results. Fine-tuning your heat management will reward you in the long run. Great pizza can be achieved with more consistency.


